Where to get a Chocobo in every region of Final Fantasy 7 Rebirth
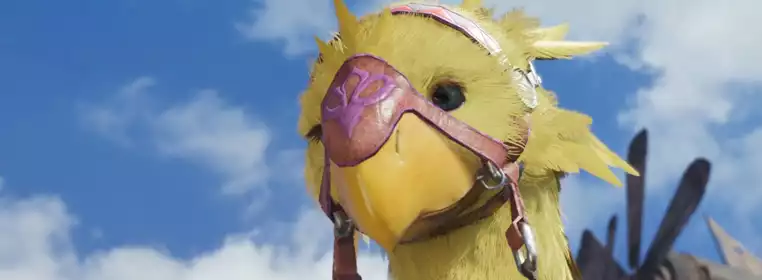
You might think that you've got your lifelong Chocobo once you step onto Bill's Ranch in the Grasslands, but unfortunately, you'll need to figure out where to find them in every one of Final Fantasy 7 Rebirth's regions.
This is thankfully not a chore though, as each new Chocobo to tame offers a different challenge, and they all have their own quirks specifically suited to their open-world region. It still took me a while to find them in the game though, so I've saved you plenty of time by laying out every single one right here.
How to get a Chocobo in Final Fantasy 7 Rebirth
 Click to enlarge
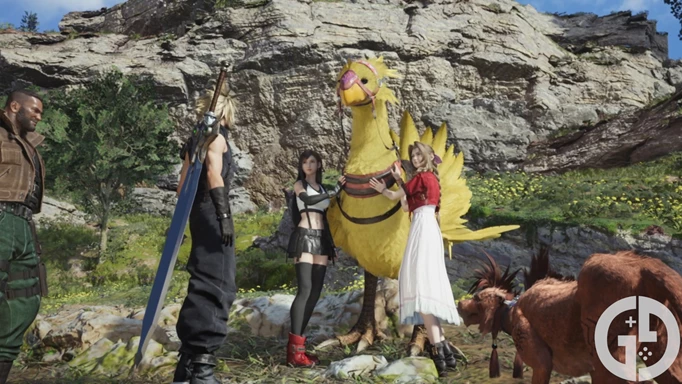
You're able to ride your very own Chocobo in Final Fantasy 7 Rebirth by taming one at a 'Chocobo Intel' location within every new region.
Each region has its own specific Chocobo and you cannot carry one over into the next region, so you'd better get searching if you're looking to get around quickly.
 Click to enlarge
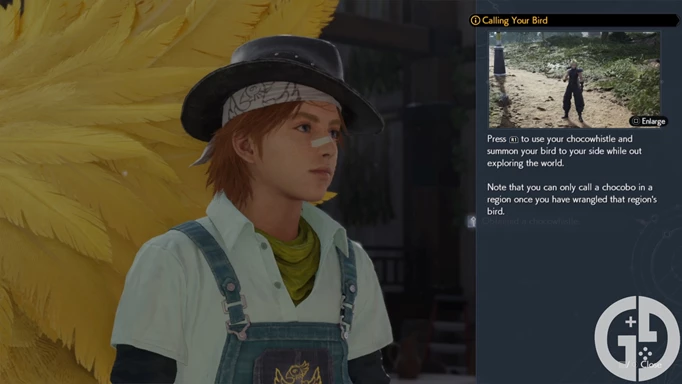
Furthermore, you'll need to complete a bit of a puzzle to tame each region's Chocobo, which typically involves a bit of stealth and clever distraction. Finding the region's Chocobo Ranch will usually point you in the right direction, but you can skip that step entirely by seeing all of the locations below.
Grasslands Chocobo location
 Click to enlarge
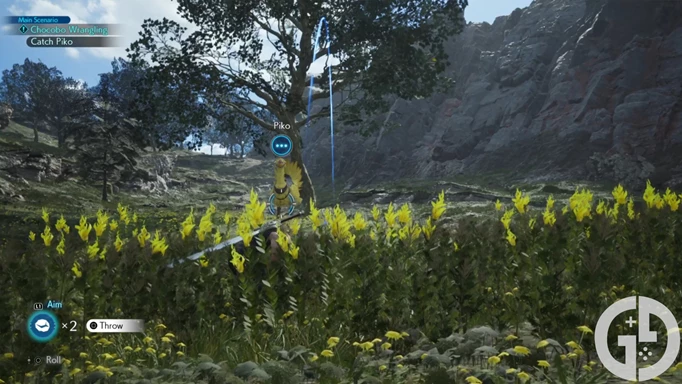
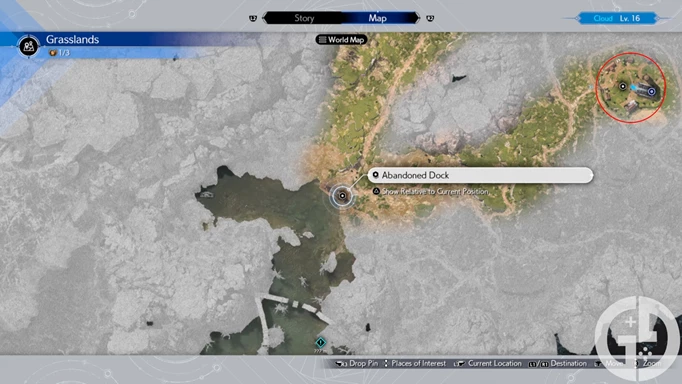
Obtaining a Chocobo in the Grasslands is a mandatory story event, so you'll get to it soon after starting Chapter 2 and entering the Grasslands. All you need to do is find Chocobo Bill's Ranch and Billy will set you on the right path to your first Chocobo - Piko.
Taming Piko here just takes a bit of stealth and some clever distraction by throwing stones. Make sure that you sneak past all of the other Chocobo in the area, then throw a stone behind Piko to make them turn the other way and you'll be good to start the taming process.
 Click to enlarge
Head back to the Ranch after taming Piko and Billy will let you take the reigns - all you need to do now is press R1 to whistle for your bird and it will appear, ready to ride.
Junon Chocobo location
 Click to enlarge
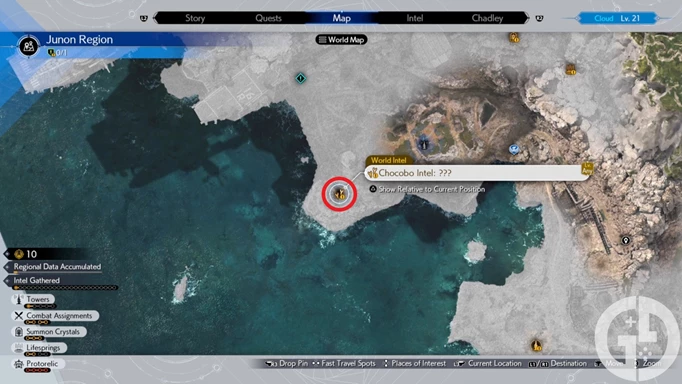
You'll be able to find Belle - the Junon Chocobo - to the west of Gabe's Ranch, and just south of the entrance to Under Junon. These Chocobo are capable of climbing up rock faces, which is incredibly handy in Junon's tricky terrain.
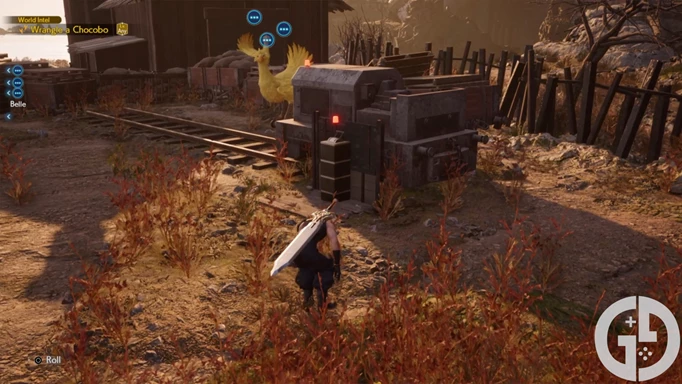
Taming this Chocobo is a little more tricky though, as you'll have to activate various switches and follow behind the moving mine carts. Make sure that you're always aware of which Chocobo is looking your way and try and use the cart to block their vision.
 Click to enlarge
You'll also need to chuck the stones carefully onto the switches to activate some of the carts, so let's hope Cloud's practised his throwing skills!
Costa del Sol & North Corel Chocobo location
 Click to enlarge
While Wheelies are the best way to speed around Costa del Sol's resort town, you can also get a Chocobo to help you explore the beaches of Corel and the cliffsides of North Corel just before you head into the Gold Saucer.
 Click to enlarge
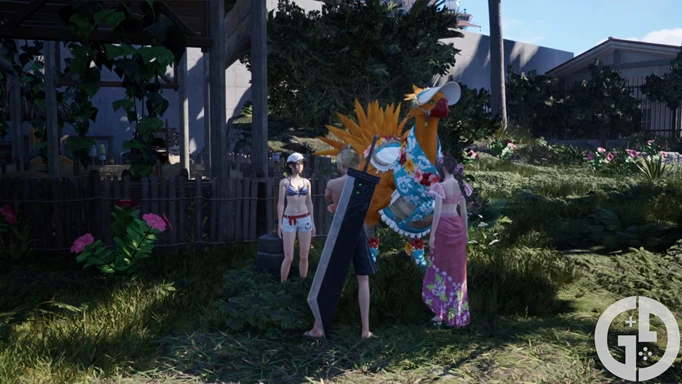
All you need to do is complete Chapter 6 - just after Yuffie joins the party - and head to the 'Rent-a-Bird' station just outside of Costa del Sol as you enter the main Corel area.
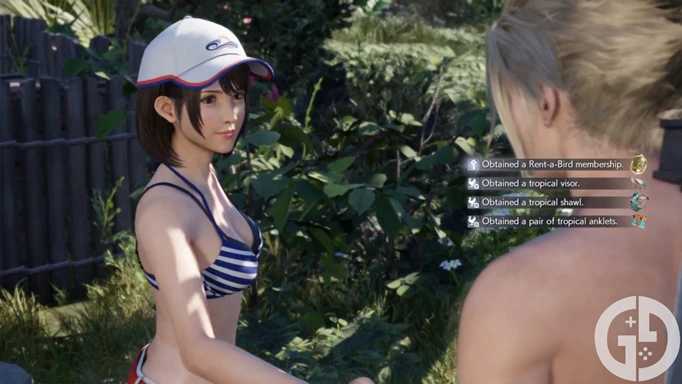
You will need to obtain a 'Rent-a-Bird' membership before you ride, but I managed to get this as part of the 'Rendezvous in Costa del Sol' side quest, so I'd recommend doing that. You'll even get some beach-appropriate Chocobo gear too!
 Click to enlarge
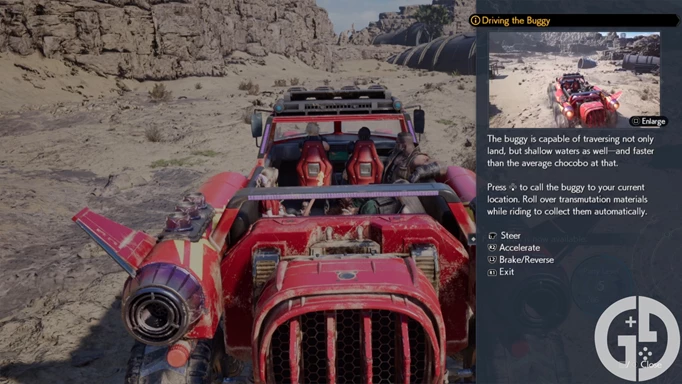
While not strictly a Chocobo, you'll also get access to Dio's buggy after completing Chapter 8, which can be very handy when traversing the rather treacherous terrain across the Corel shores.
Gonagaga Chocobo location
 Click to enlarge
Much like Costa del Sol, the Gongaga Chocobo is only obtained at the end of Chapter 9, and is a mandatory story element that cannot be missed.
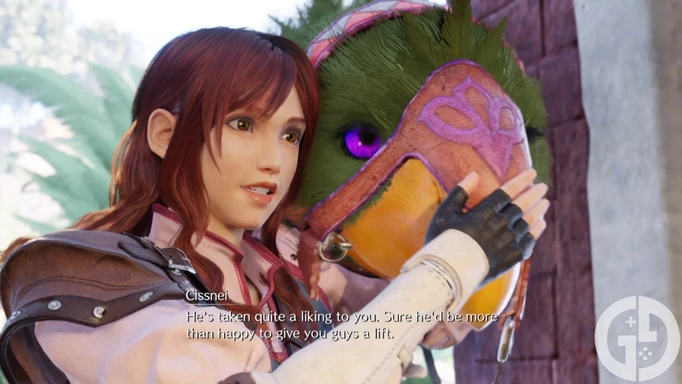
Once you've cleared the reactor, Cissnei will then give you Fango, who can utilise the region's giant mushrooms to cross long distances.
You'll definitely need them to get anywhere in the dense forest too, as it's a maze that is largely unlocked by finding the right fungi to bounce from.
Cosmo Canyon Chocobo location
 Click to enlarge
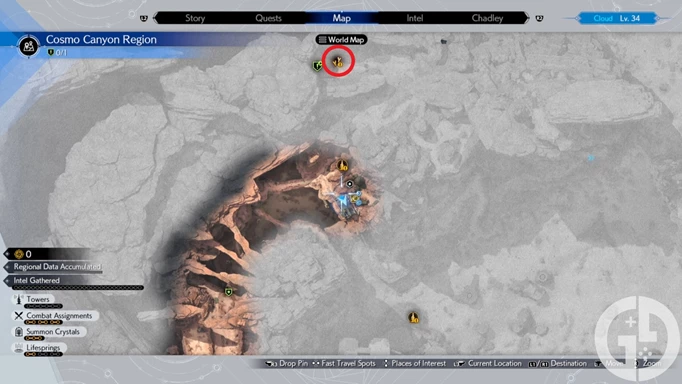
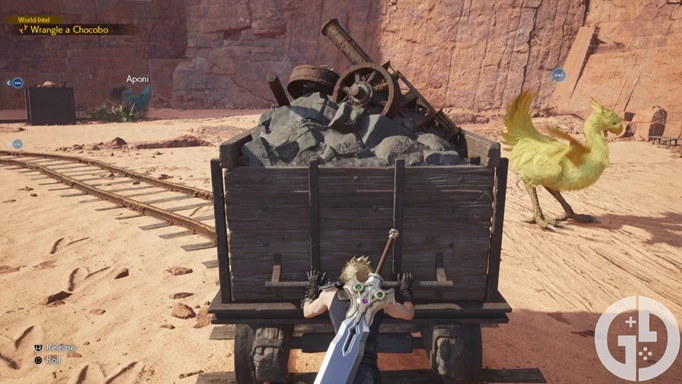
You can find the Chocobo in Cosmo Canyon just to the north of Kamaria's Ranch, and not too much of a trek from the airstrip. I found taming Aponi to be the biggest pain of the lot though, as it requires really precise movement and a lot of trial and error.
Once again, make sure that you've always got a mine cart in between you and the nearest Chocobo, and make sure to use the stones placed near the end to distract them and create space.
 Click to enlarge
You'll be able to use these Chocobo to soar gracefully through the air and use the many wind terminals in the region to avoid touching the ground.
Nibelheim Chocobo location
 Click to enlarge
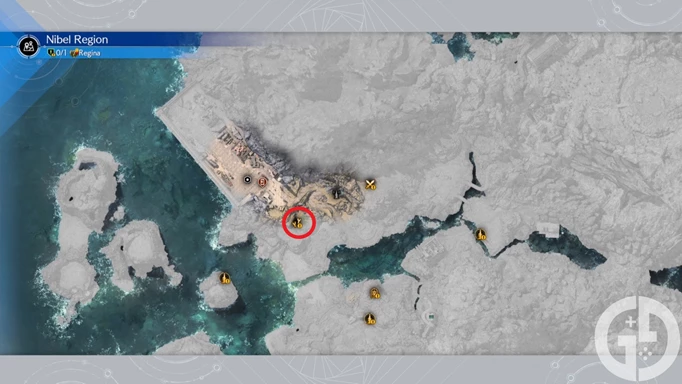
Thankfully the Chocobo for the Nibelheim region is super close to the airstrip too, and can be marked on your map as soon as you complete the first tower just down the road.
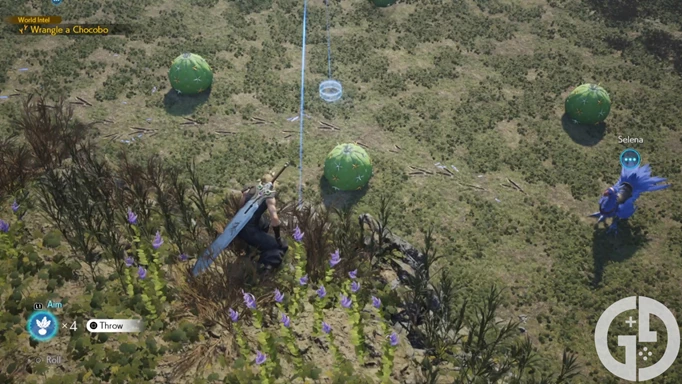
This, unlike many of the other Chocobo taming minigames, requires you to lead our Chocobo Selena through a bit of an obstacle course. Head up the hill to the right of the first two Chocobos and pick up all of the Chocobo bait along the edge.
 Click to enlarge
You'll want to use this to lead Selena back to the start, but be careful of the expanding Cacti as they will both hurt our Chocobo and send them running. Once you've guided them back to the entrance, just head down the hill again and tame them to claim the last Chocobo.
With this, you'll be able to speed around every region of Gaia and unlock previously inaccessible areas of the map. With the time that you've saved, make sure to check out our Final Fantasy homepage, where we'll let you know what to do with Moogle Medals, all of the best Materia in the game, the basics of Queen's Blood, and how to use Synergy Abilities.
